
Advisor Plus+ Admin
The complete Administrator’s guide to advisor plus
About Advisor Plus Admin
Admin+ is the administrative component of the Advisor Plus suite, alongside Authoring+ for authors and Advisor Plus for learners. This Quick Start guide provides a detailed, user-friendly guide to all essential components of Admin+.
Adding a new user is simple in Admin.
Login to Admin
First, login to Admin+.
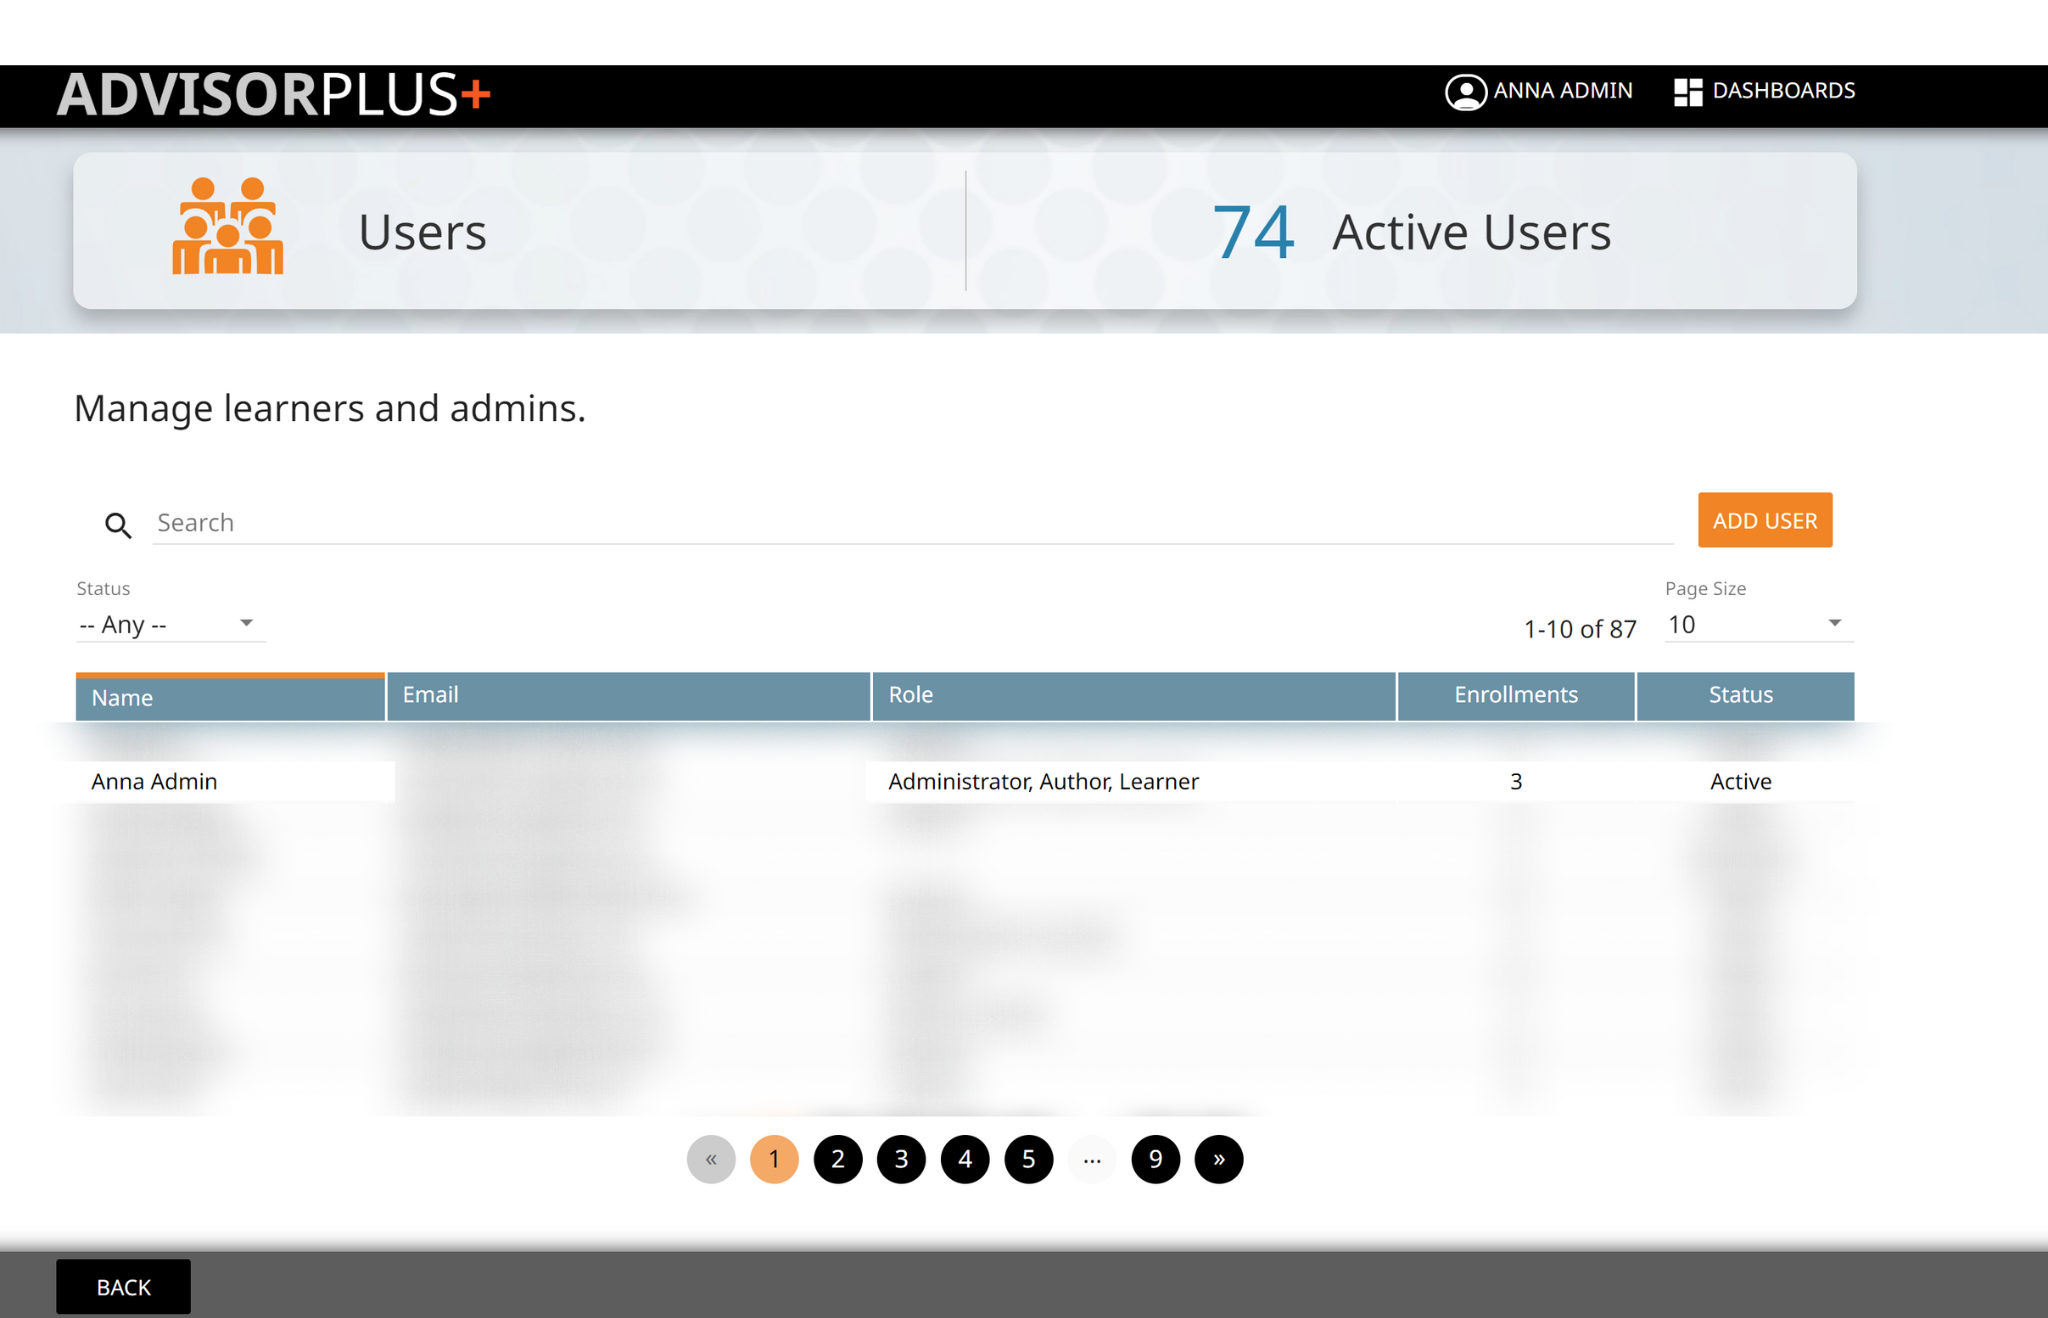
From the Admin Dashboard, click Users.

Add User
From the Users screen, click the orange Add User button on the right.

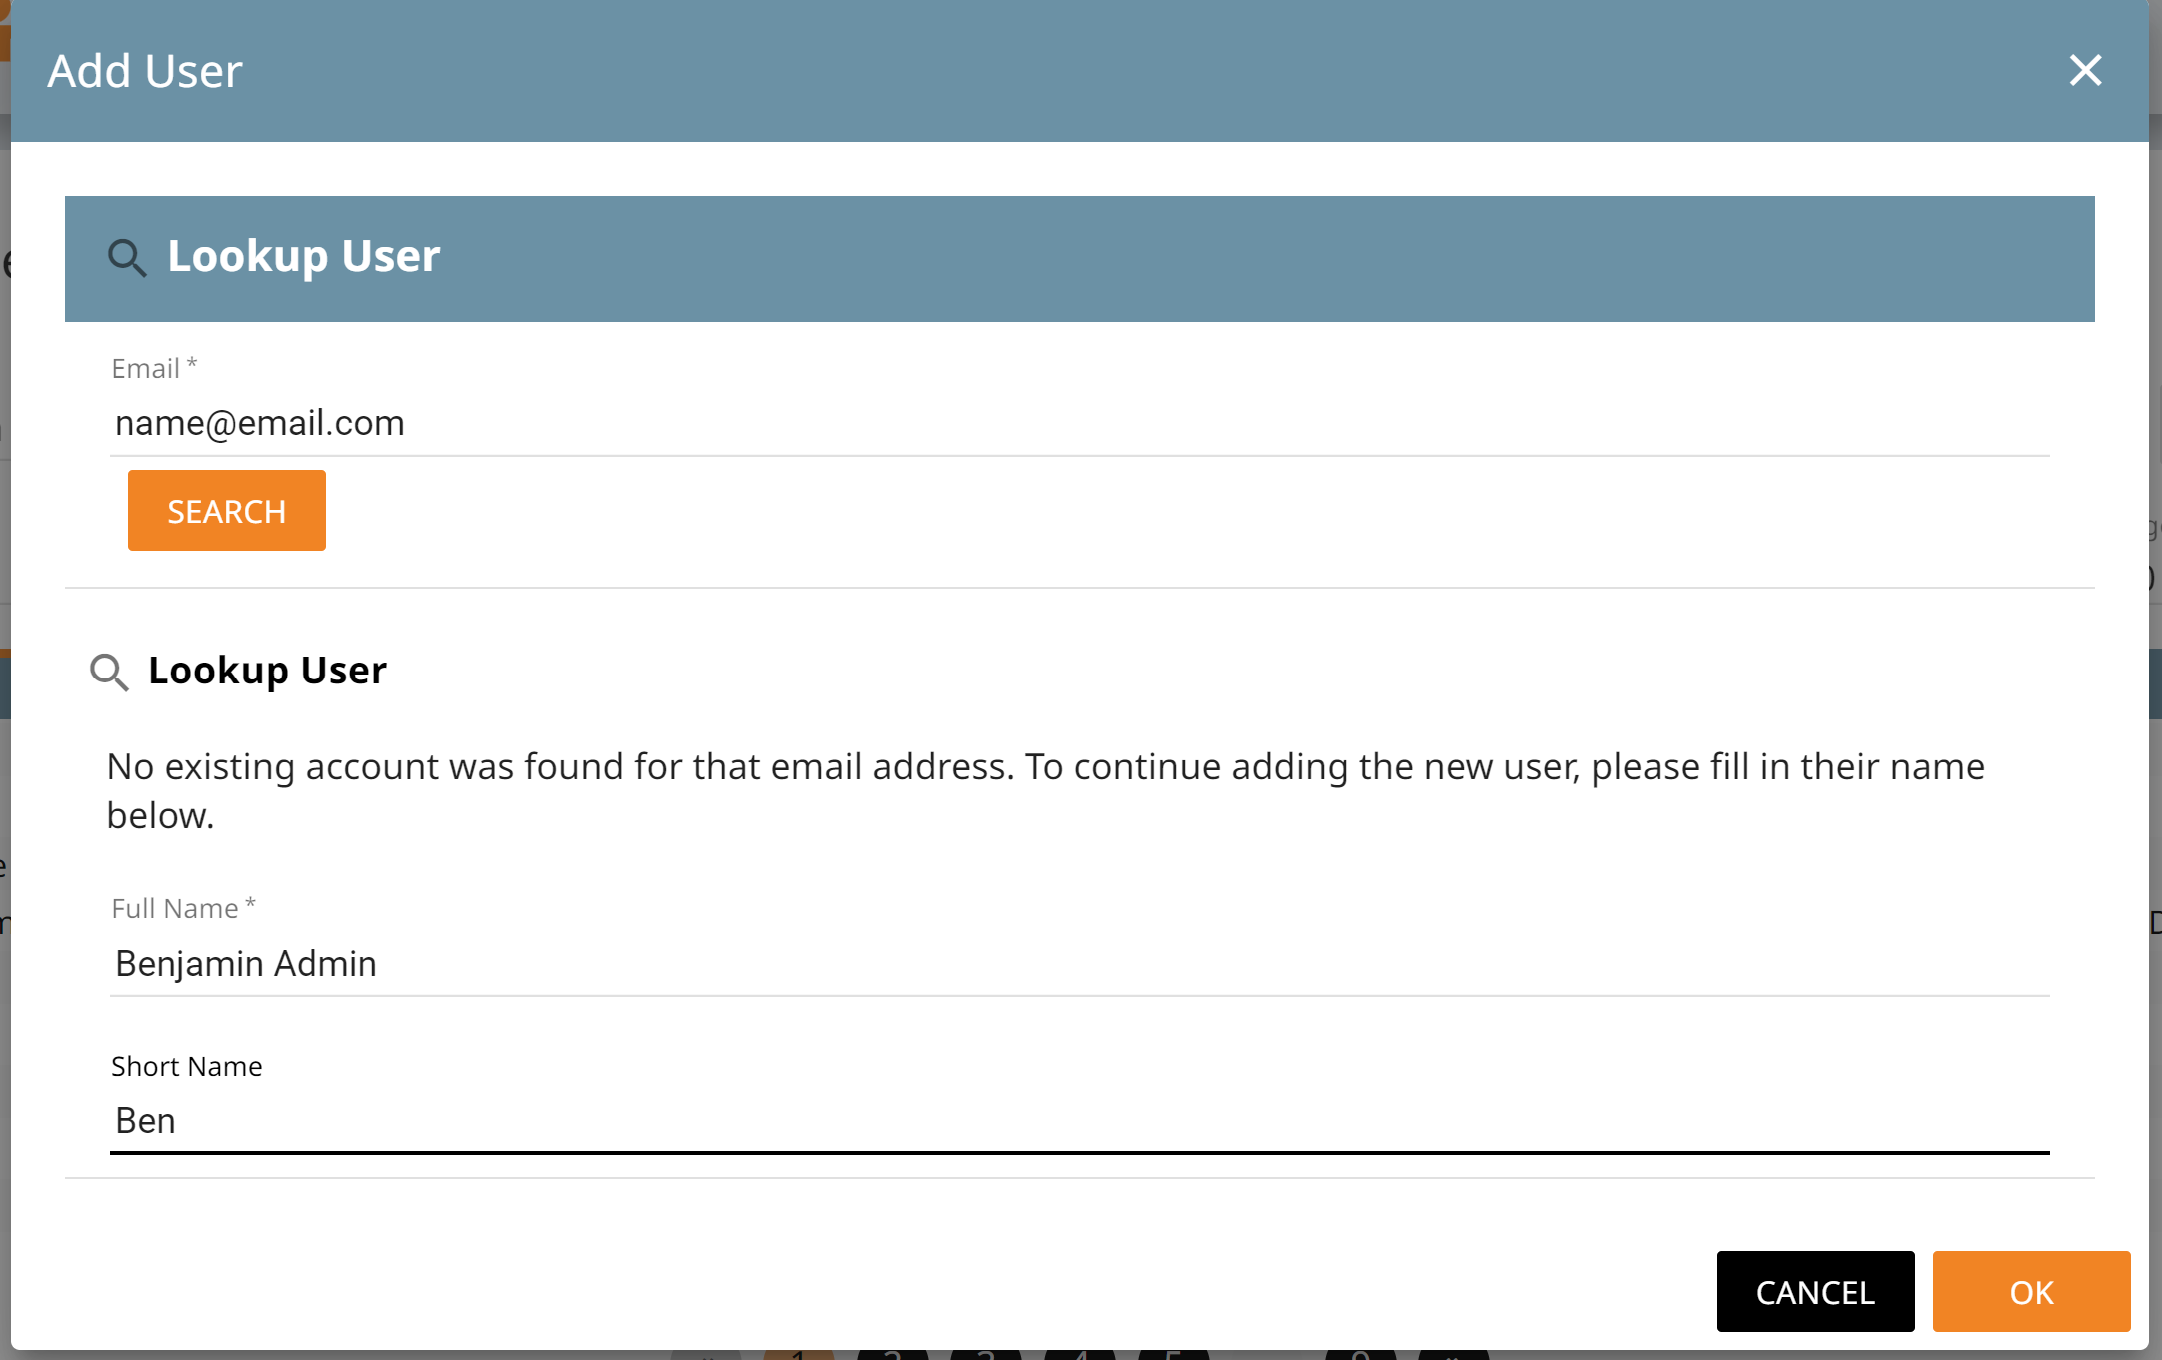
User Information
Enter the new user’s email address in the dialog box.
Click Search.
Enter the new user’s full name (short name optional).
Click OK.
User Added Successfully
The newly added User is now invited to join Advisor Plus+. They will receive an invitation email with a link to complete account set up.
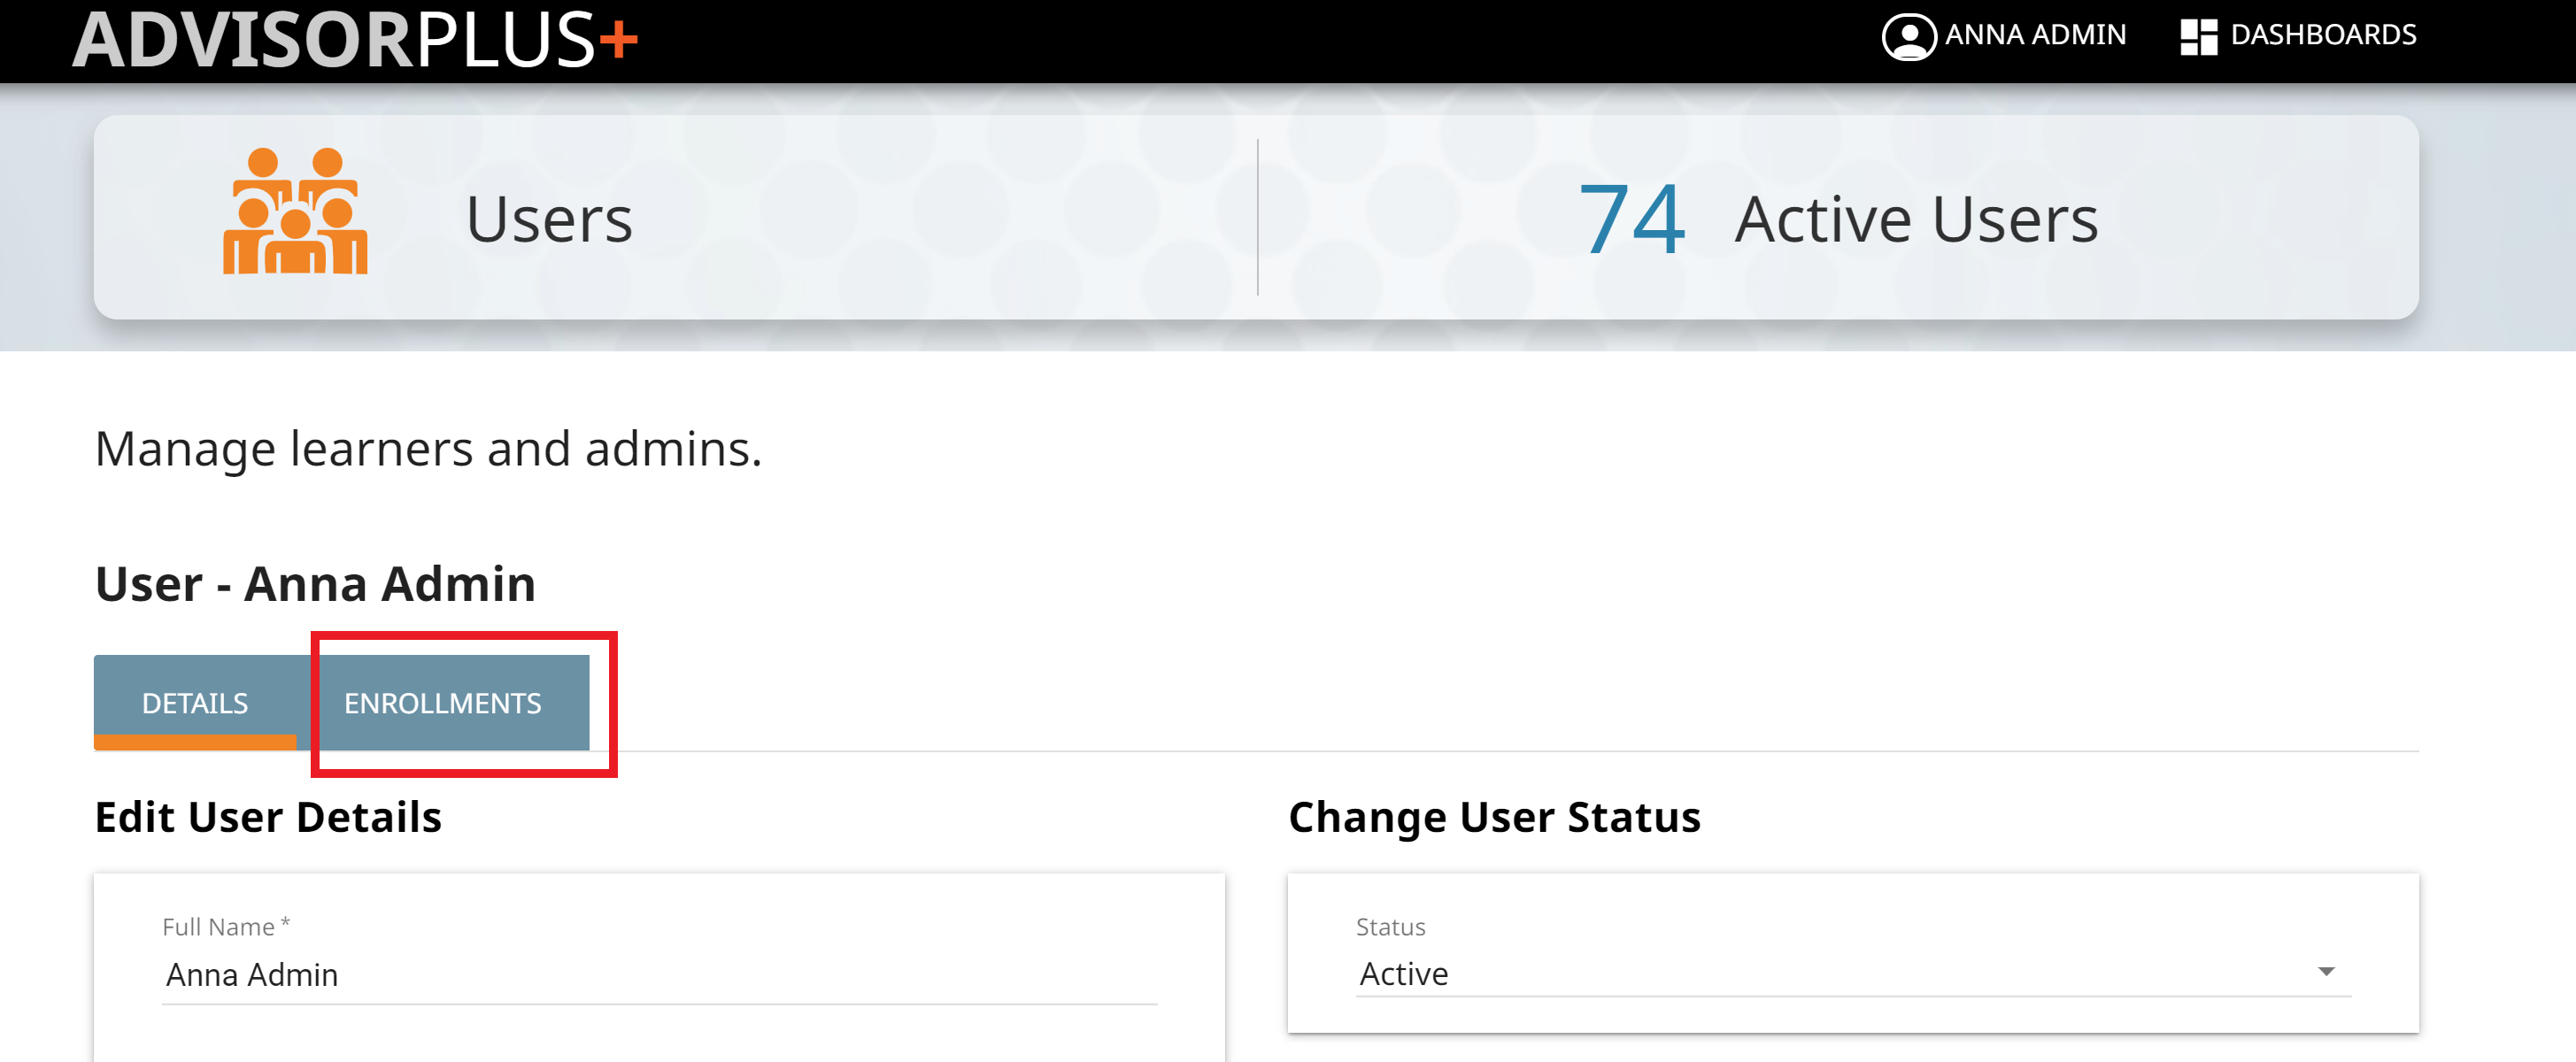
From here, you will see the User Detail page. Here, you can see the user status, manage user roles, or resend the invitation email. You can also enroll the new user in a course.
If your organization has more than one subdomain, you can use the same login across subdomains.
Easy Enrollment
When trying to add a user as a new user who already has an account with your organization, you’ll receive the message below. Click OK to proceed with user enrollment.

There are multiple ways to quickly enroll a user in a course.
Users
From the Admin Dashboard, click Users.
Select User
Select the user you would like to enroll in a course.
Add Enrollments
Click Enrollments from the User Detail page.
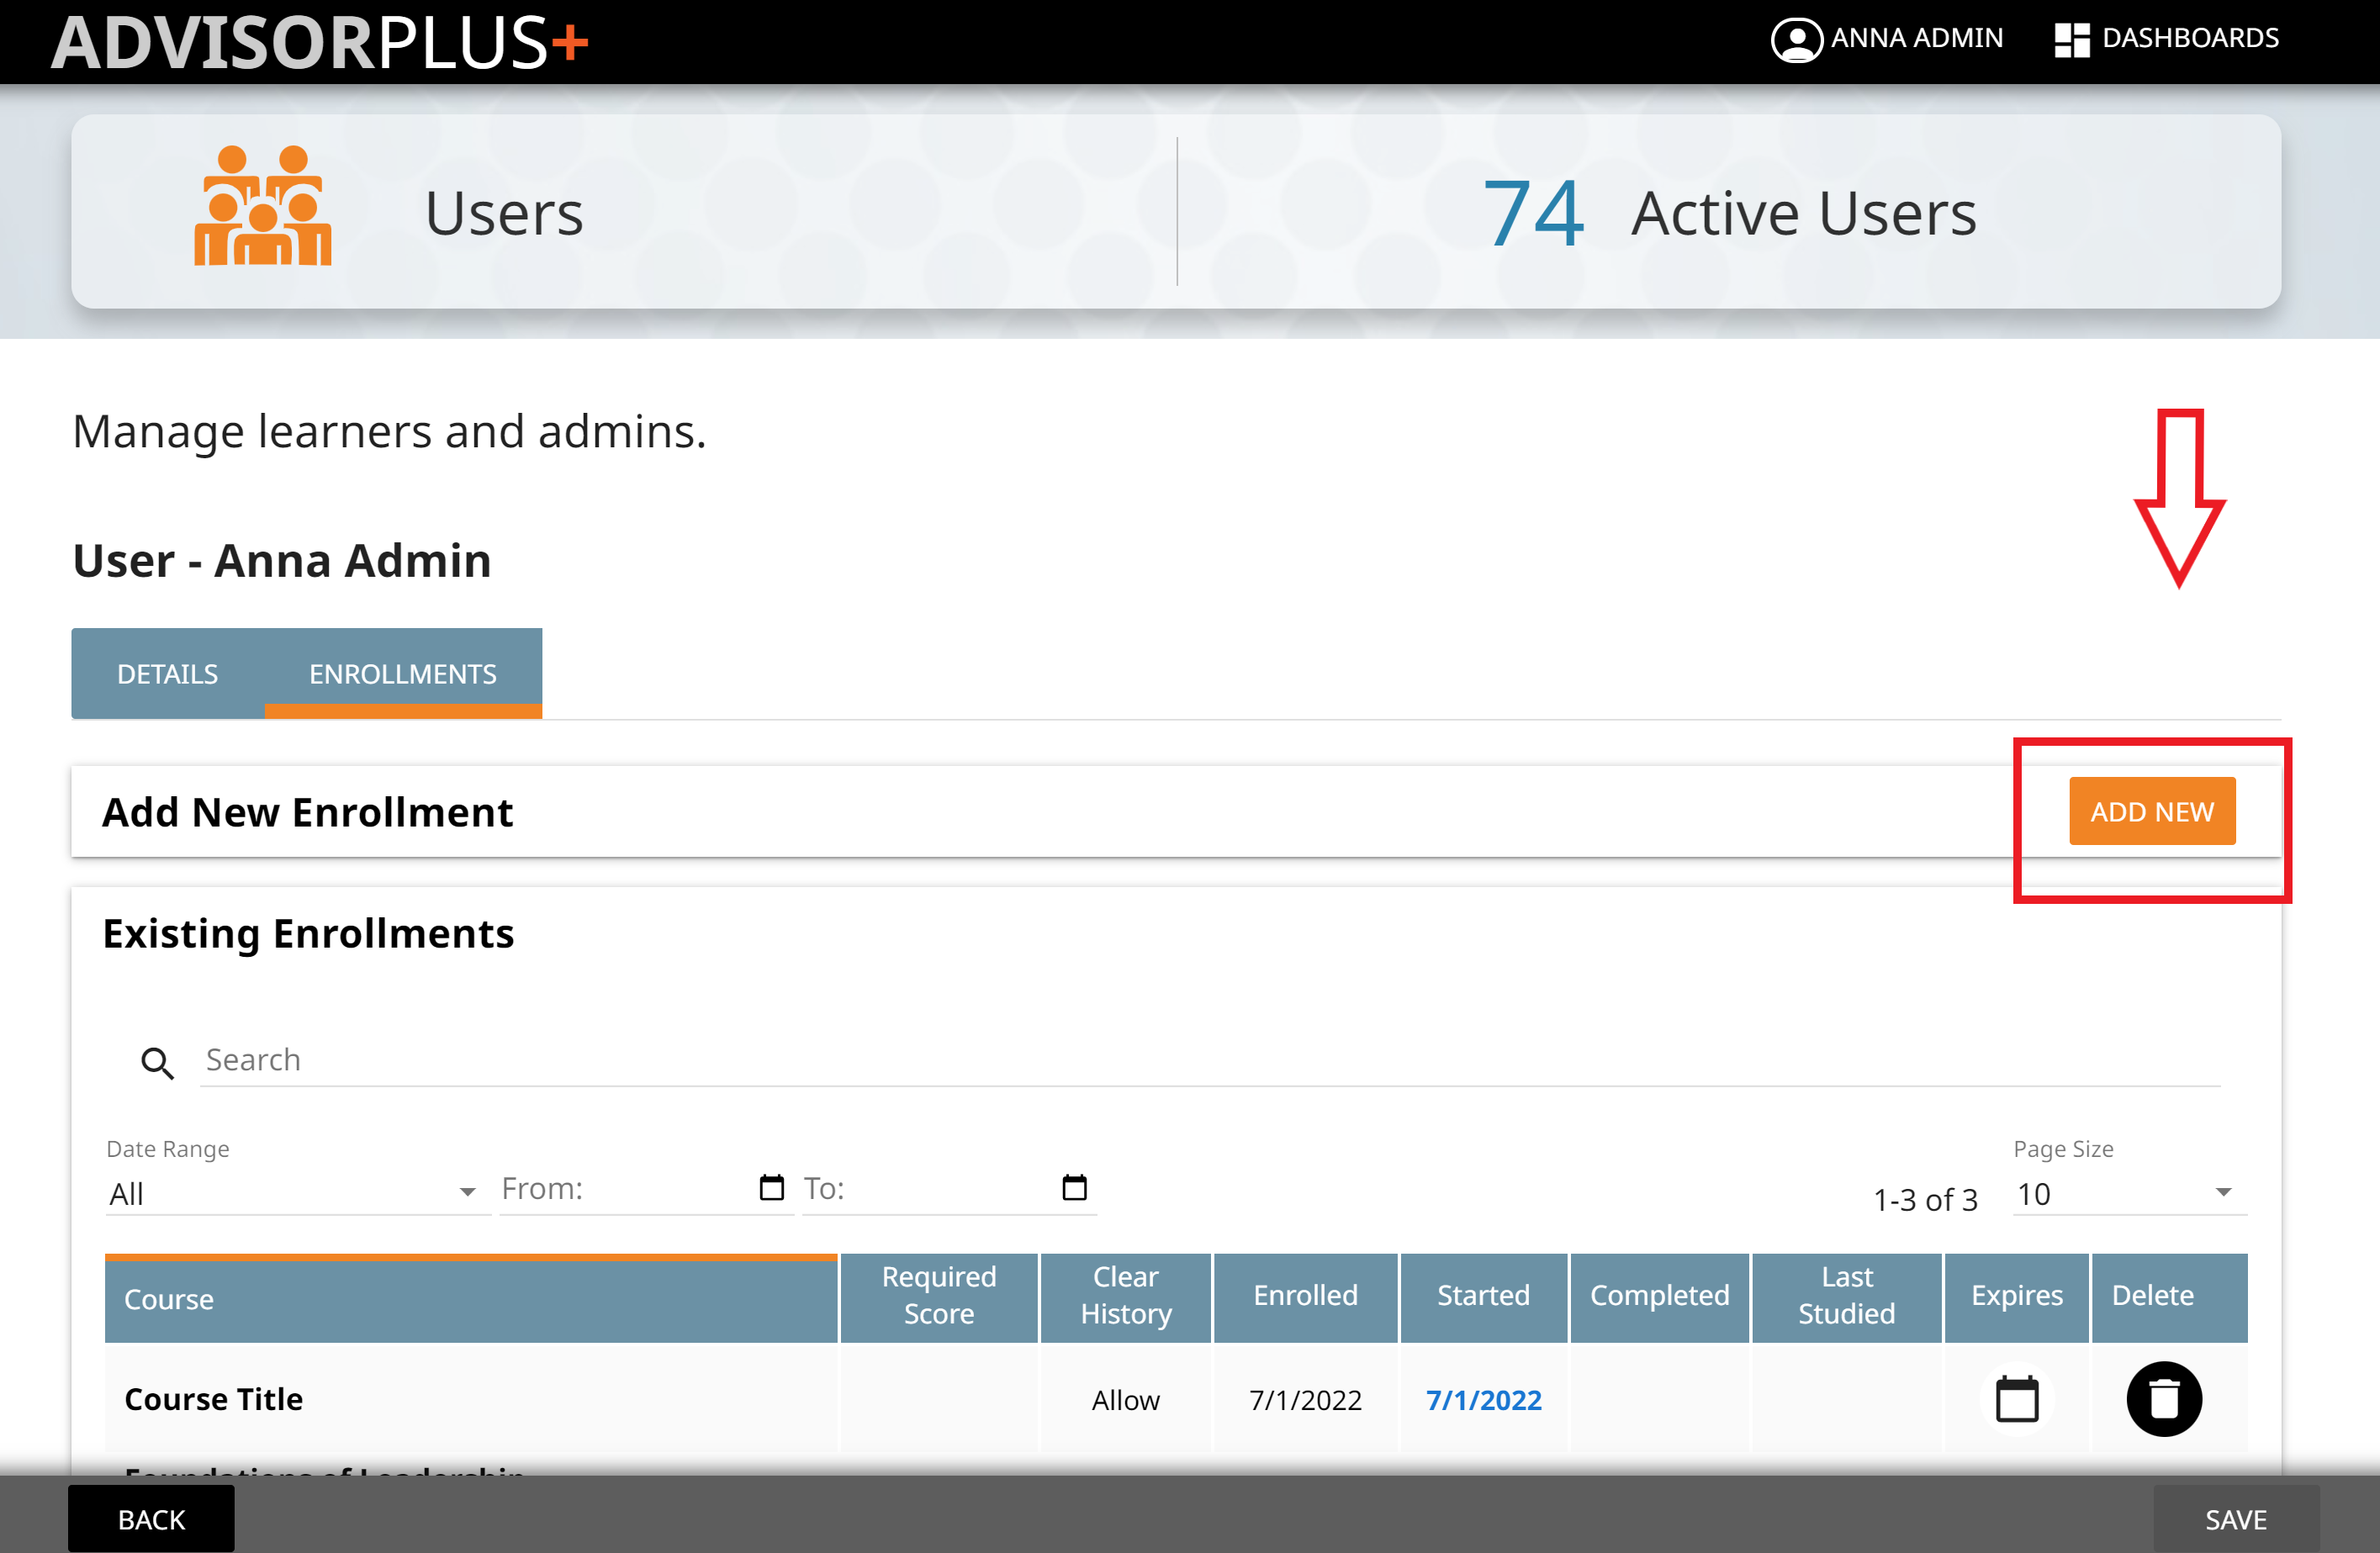
Add New
Click Add New.
Choose Course
Click the course you would like to enroll the user in.

Save Settings
If desired, set an expiration date for the user to complete the course by clicking the calendar icon.
Note: This sets the course expiration for this user enrollment only, not for all enrollments to this course.
When you’re finished making changes, click SAVE.
The user is now enrolled in the course.

Deleting a course enrollment removes the user’s ability to access the course and permanently erases report data for that user’s enrollment.
Users Area
From the Admin Dashboard, click Users.
Select User
Select the user whose course enrollment you would like to remove.
Enrollments
Click Enrollments from the User Detail page.
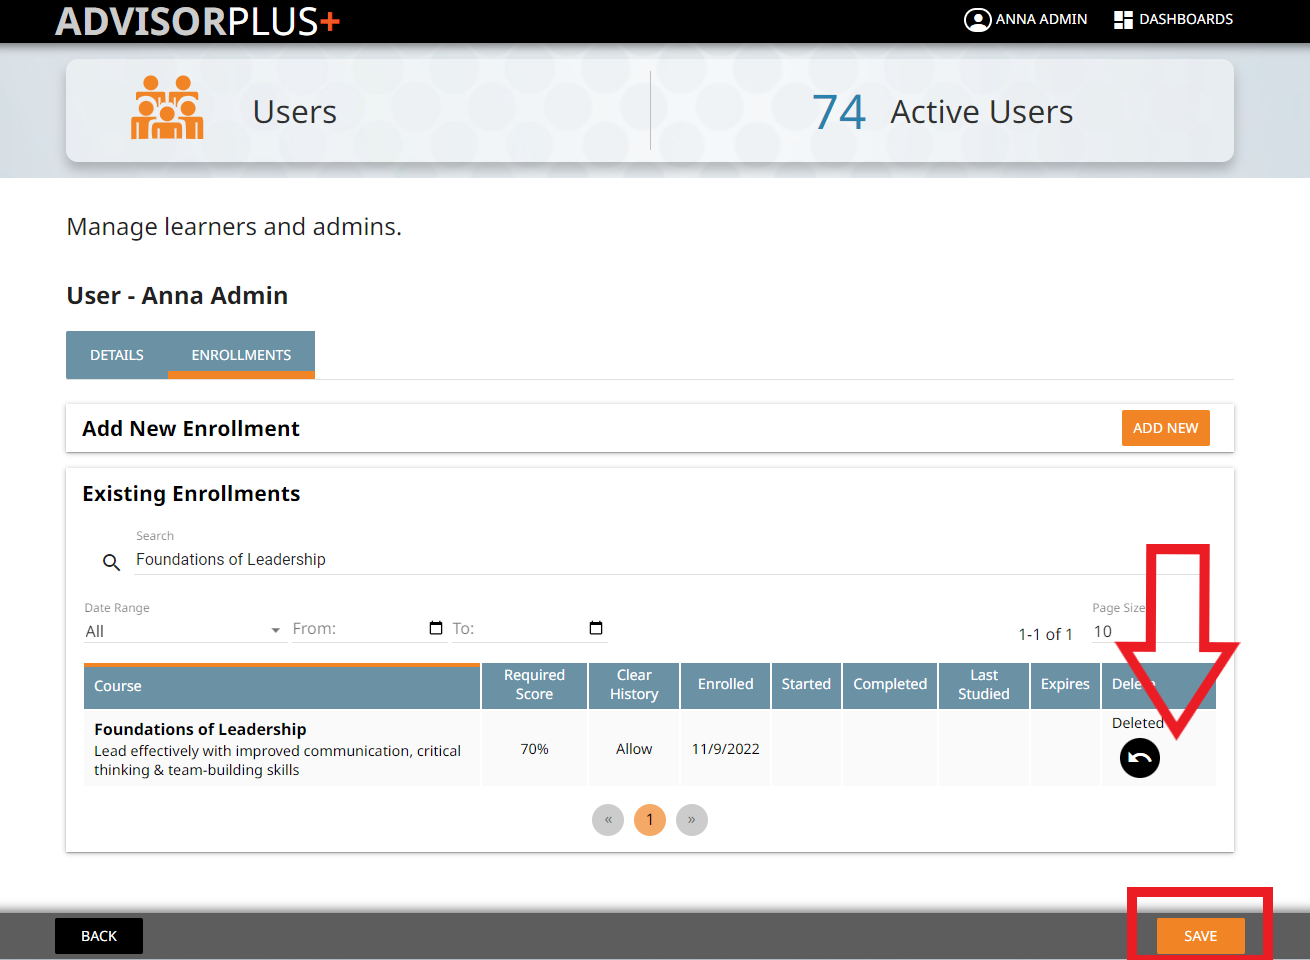
Trash Can
Click the Trash Can icon next to the course enrollment you would like to remove.

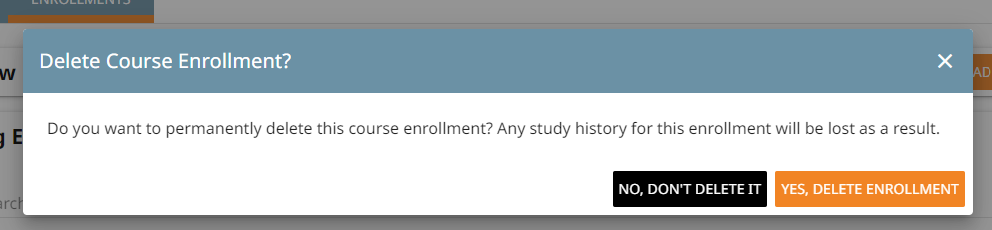
Confirm
Confirm you would like to delete this enrollment.
Save
Click save on the bottom right corner of the screen.
The user is no longer enrolled in the course, and all study history is cleared.
To remove user access, you can choose to make a user Inactive, Suspended or Banned.
Choose Restrictions
To remove user access, you can choose to make a user Inactive, Suspended, or Banned.
From the Admin Dashboard, click Users.
Making a user Inactive will prevent the user from logging into the system at all while keeping their scores available in the reports area.
For harsher action, you can suspend or permanently ban a user from Advisor Plus.
Select User
Select the User whose access you would like to remove.
Change Status
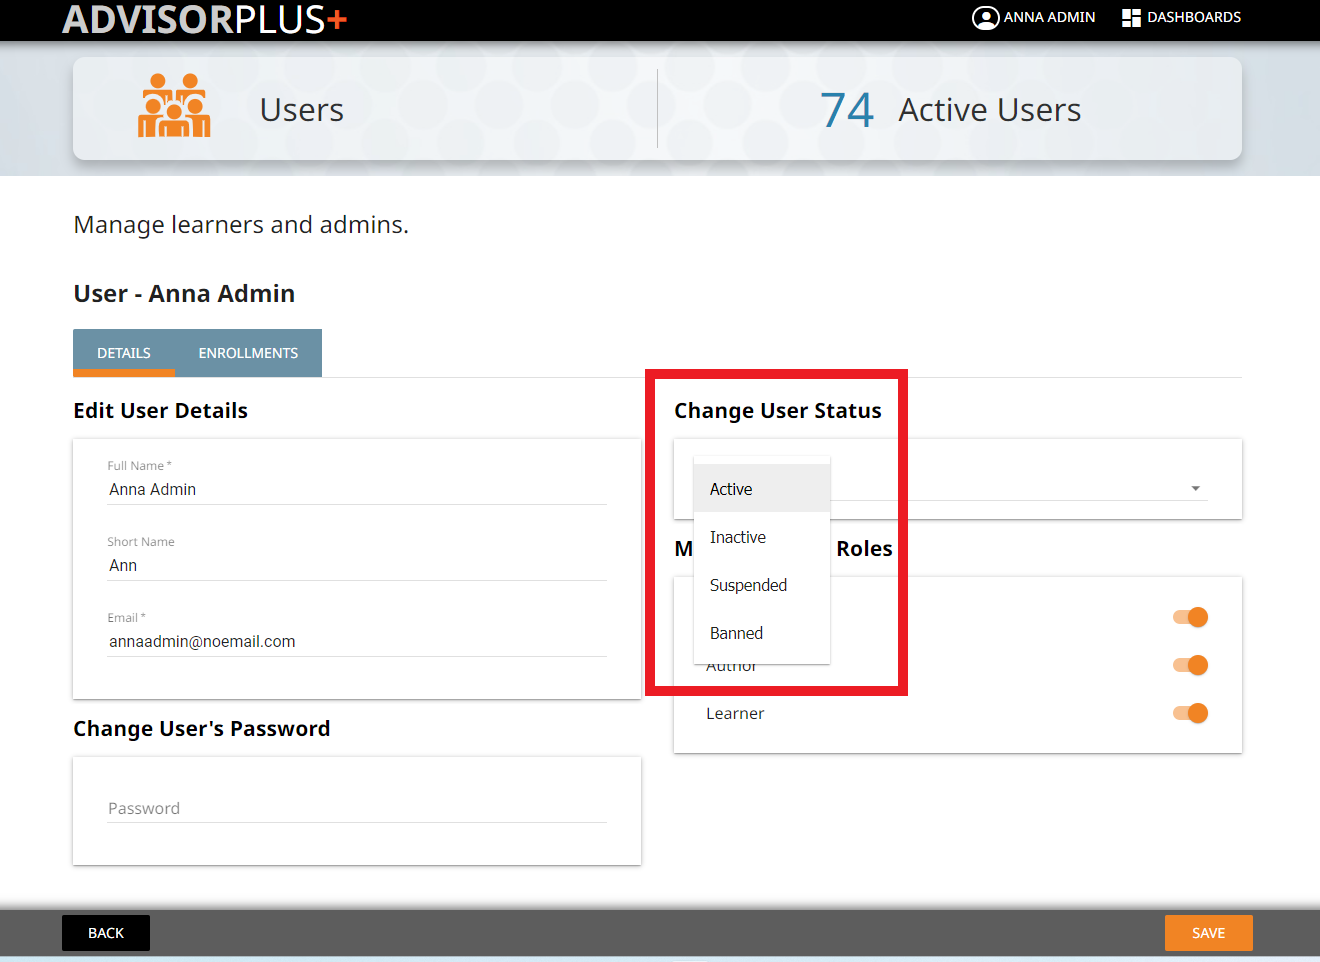
Click the dropdown menu under Change User Status.

Select Status
Select the desired status change: Inactive, Suspended or Banned
Save
Click Save at the bottom right corner of the screen.
In Admin+, all new users are automatically enlisted as learners. However, if you would like to give a user administrative access, you can change their role in the User Details tab.
Users Area
From the Admin Dashboard, click Users.
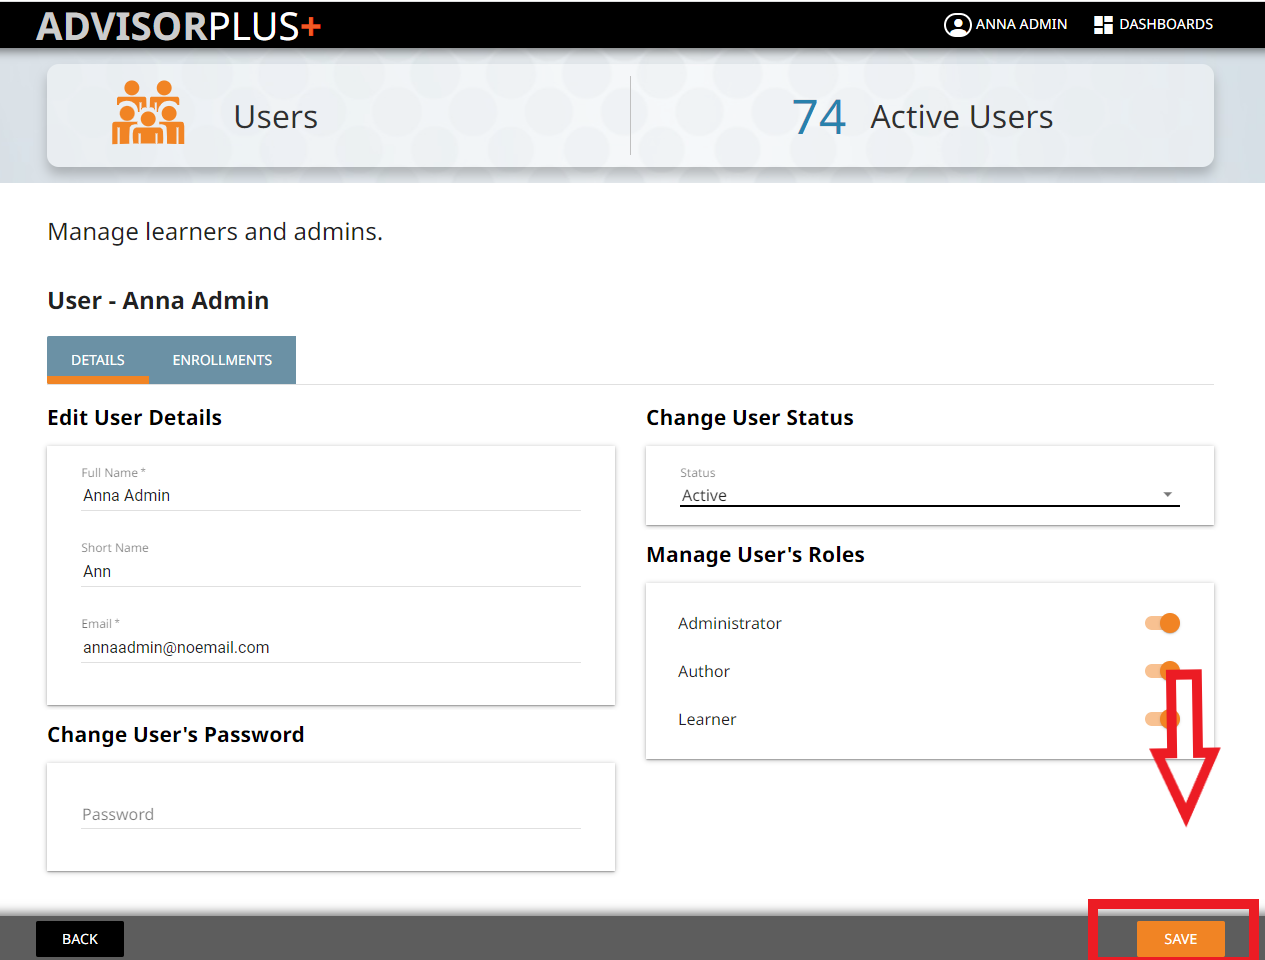
Add Admin Role
Under Manage User’s Roles, click the Administrator toggle.

Save
Click Save at the bottom right corner of the screen.
The user will now have access to Admin+.
This section will guide you through the process of importing a course published from Authoring+.
Course Catalog
After publishing the course in Authoring+, navigate to the Admin+ dashboard by using the Dashboard drop-down menu.
Or, if you are just logging in, select Admin+ from the main Advisor Plus dashboard.
From the Admin+ Dashboard, select Course Catalog.
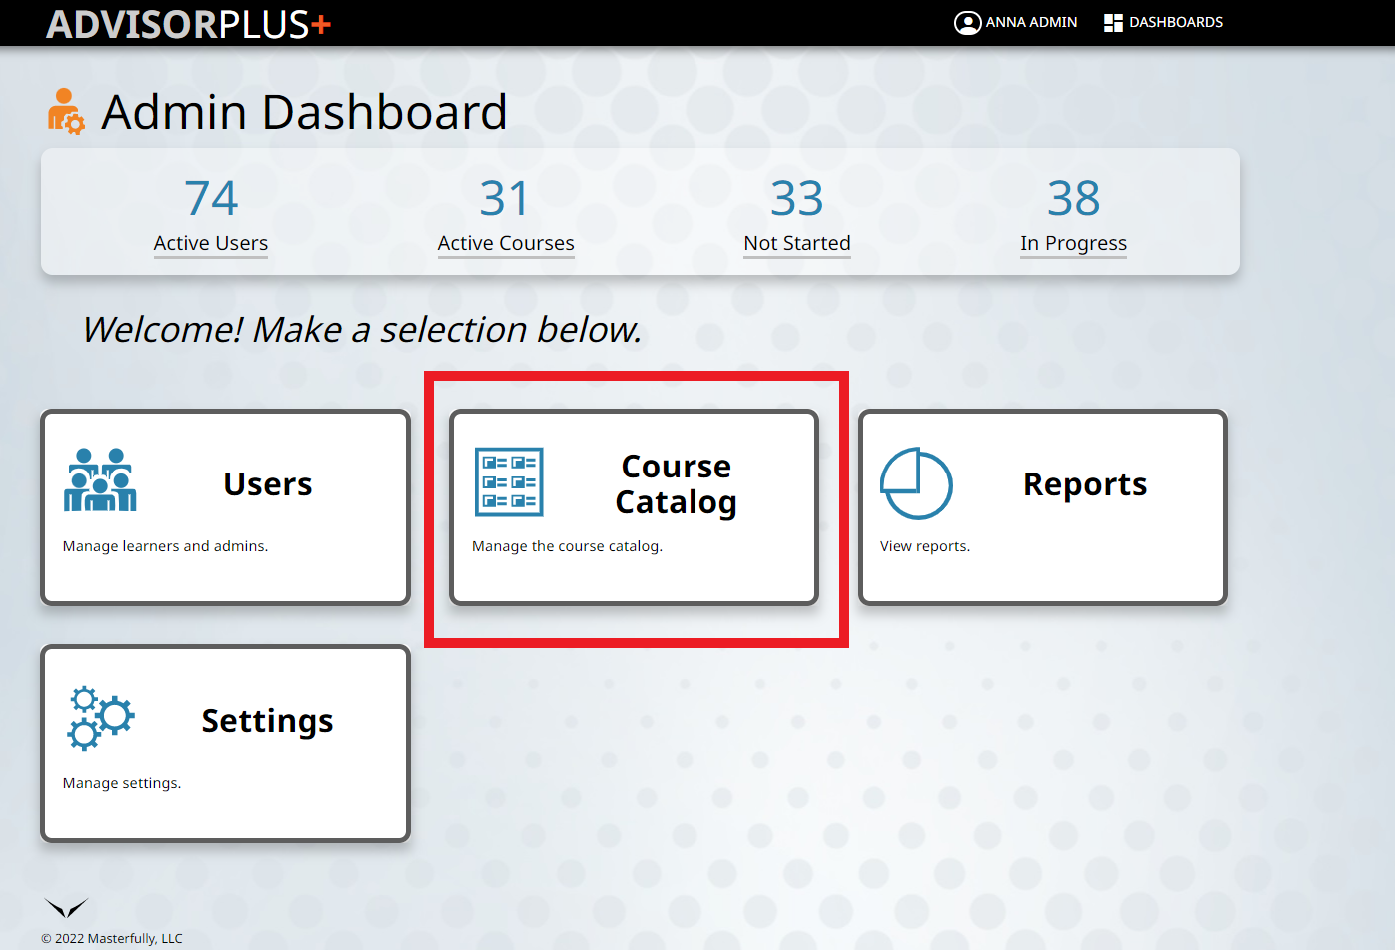
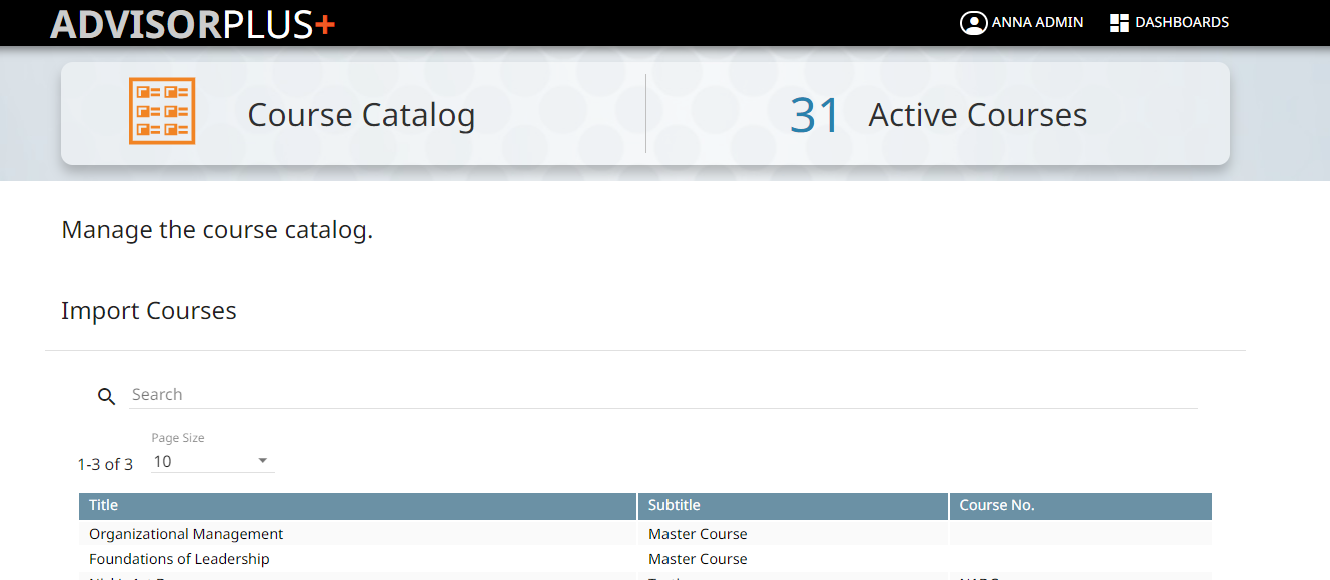
Import
From the Course Catalog, click the orange Import Courses button on the right.

Choose Course
Select the course you’d like to import from the list.
Congratulations! The course is now imported into Course Catalog, ready for enrollments.
The page will automatically refresh back to the Course Catalog page once import is complete.
Add Enrollments
To change course settings or add enrollments, select the course from the Course Catalog list.
Make any changes you’d like to course settings. Add enrollments by clicking the Enrollments tab beneath the Course Title. When you’re done, click Save.

Find additional help in the Admin+ Help Center.
For additional help, visit the Admin+ Help Center at any time by clicking on your name in the top right corner of the screen.
